
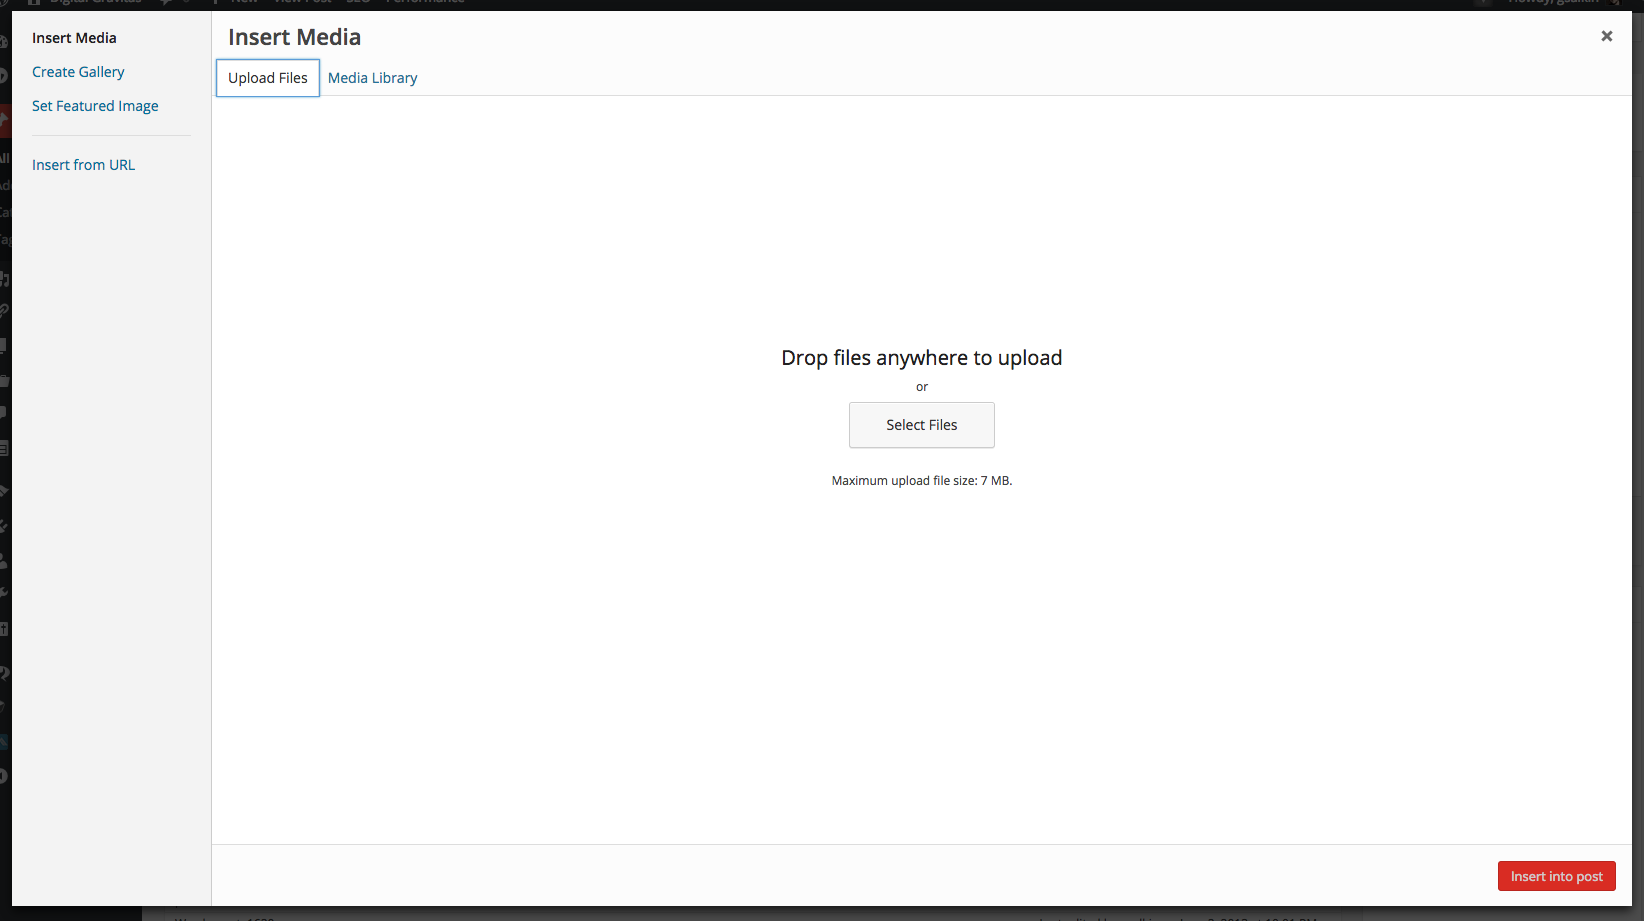
Most often, you will be working with media files when you are adding them to pages and posts either as text links, or as images in the body using the WYSIWYG Editor or as a featured image, and sometimes in special contexts (adding to a slider for example). In most normal cases, you are doing so by using the “Add Media’ link directly above the icon palette on the WYSIWYG Editor. Pressing the media icon there brings up the Media Add / Insert window (example below).
There are several ways to add media to your pages or posts:
For Photos and Images:
- When uploading a photo from your computer, you can manually drop files from your desktop or another folder onto the “Drop files here” area or use the “Select files” to navigate to them and select them that way.
- Once the files are selected a progress bar is seen beneath the “Drop files here” area showing the status of the file being uploaded. Once the upload is complete WordPress processes the file and displays the thumbnail (if an image) and details about the file underneath. (Note: If you don’t see those details right away, click on the “Show” link next to the title of the uploaded file.)
- In the details area, you can see Title, Caption, Description, and URL. This is controlled from the Edit Screen and from the detailed insert screen (below). If you make any changes to these items, “Save all changes” will retain them.
 If you make a mistake and want to immediately delete the image you uploaded, click the “delete permanently” button.
- If you are not uploading a new image file, click on the “Media Library” tab to find your image. You can navigate using the page menu on the right or also search for a keyword in your media file’s name. This latter method can be helpful when you have many pages of media items. You can also narrow the search between All and Image files, which may also make the serach go more quickly. When you find the image you want, select the “Show” link next to its name and the detailed insert window appears.
- Once you have uploaded the image or selected “Show” next to the image you want, you can again update any information about the image you wish to and select “Save” to save it. You then have to decide what the alignment and size will be. (Notes: You only need to adjust alignment and size if you are using the “Insert into Post/Page” option. This is not needed for “Set featured image” as the default size of the image is always used. Alignment other than center causes text in a post or page to wrap around the image. Center ensures top and bottom text wrapping.)
- Size can be determined by the relative size of the original image to the post size as it appears on your website. (You may have to adjust things a bit the first couple times you try this, to get the ratio correct. Often it is helpful to size your photos / images to an aspect ratio with less than 600 width as this is the high end for displaying graphics on a website. In the rare circumstances in which you need a very high resolution image, just be sure that the space alloted on the front end of the post or page will allow for it to display properly.)
- Once you have completed size and alignment, then you must select either “Insert into Post/Page” or “Use as a featured image.” Featured images are explained here. Inserting into post will place the image into your post / page based on the alignments and size you have indicated.
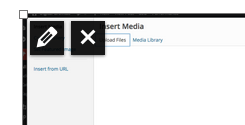
- Once the image is inserted, you still have some options to finesse its appearance, location, and other properties. You can click your mouse over the image and two icon options will appear in the upper left (see image to left). The “pencil” icon will take you to the custom image properties window. The “X” image will delete the image from the page or post.
- In the custom image properties window (below), you can see you can adjust the size of the image to a percentage of size smaller than the original (or larger if you had previously shrunk it using this feature), adjust alignment in the post and other text fields. Note here that there is an option to select a link URL if you want the image to link to a page or another file on the internet. (Note: An image can also be linked using the Insert Hyperlink icon in the WYSIWYG editor after selecting the image with your mouse. This alternate method also allows you to set Title and Open in a new tab/window. You can manually adjust the source link (normally you wouldn’t) and the aspect ratio of the image (again normally not needed). You can also set a link to an image to open in a new window and other specialized settings which are normally not changed.

For Linkable Files (PDFs, Word Documents, Powerpoints etc.):
1. Follow the procedures as in Photos above to upload your document (in place of an image will be an icon corresponding to the type of file it is (document icon for document, audio icon for music, etc.).
2. Once you have uploaded the item or clicked on the “Show” link next to the title, you will want to copy the File URL from that field.
3. Then, go to your post / page where you want to link text to the file and highlight the text. Then select the “Insert Hyperlink” icon in the WYSIWYG Editor. Select the URL field and paste the copied URL for your file. (Note: You may have to remove the initial http:// that is in there first so that the URL is inserted properly and not with two ‘http://”s). Follow the other procedures for adding a Title and opening in a new tab as needed. (Note: Opening a document like a PDF in a new tab is a best practice and encouraged.) Then press “Insert link” and your file will be linked to the text in the post/page that you selected. (Note: For more information about Hyperlink insertion, view the post about the Add/Edit Post Screen.
For Specialized Files (Audio, Video):
These types of files are often only used in the media library in conjunction with a plugin (audio / video player) that allows you to play them within the confines of the WordPress environment. If these special plugins are not enabled, these files can still be linked to (as above) but not played directly from the website. Please consult your client portal documentation for information about these plugins and their use on your website.